Skip to end of metadata
Go to start of metadata

You are viewing an old version of this page. View the current version.

Compare with Current View Page History

« Previous Version 5 Next »

Adobe Creative Cloud Express is the starting point for multimedia presentations. It is browser-based and therefore works across all computers and devices.

For the best experience, we recommend using a fast browser such as Chrome or the Mobile Apps when designing large multimedia projects.


Getting Familiar with Adobe Express

  1. In a web browser, navigate to https://www.adobe.com/express
  2. Sign in with your preferred method

    Adobe Express is a free with premium features application. Fairfield University does not offer an institutional license for Adobe Express. Faculty, staff, and students are encouraged to create their own Adobe ID or sign up using one of the available sign-up methods with a non-University email address.

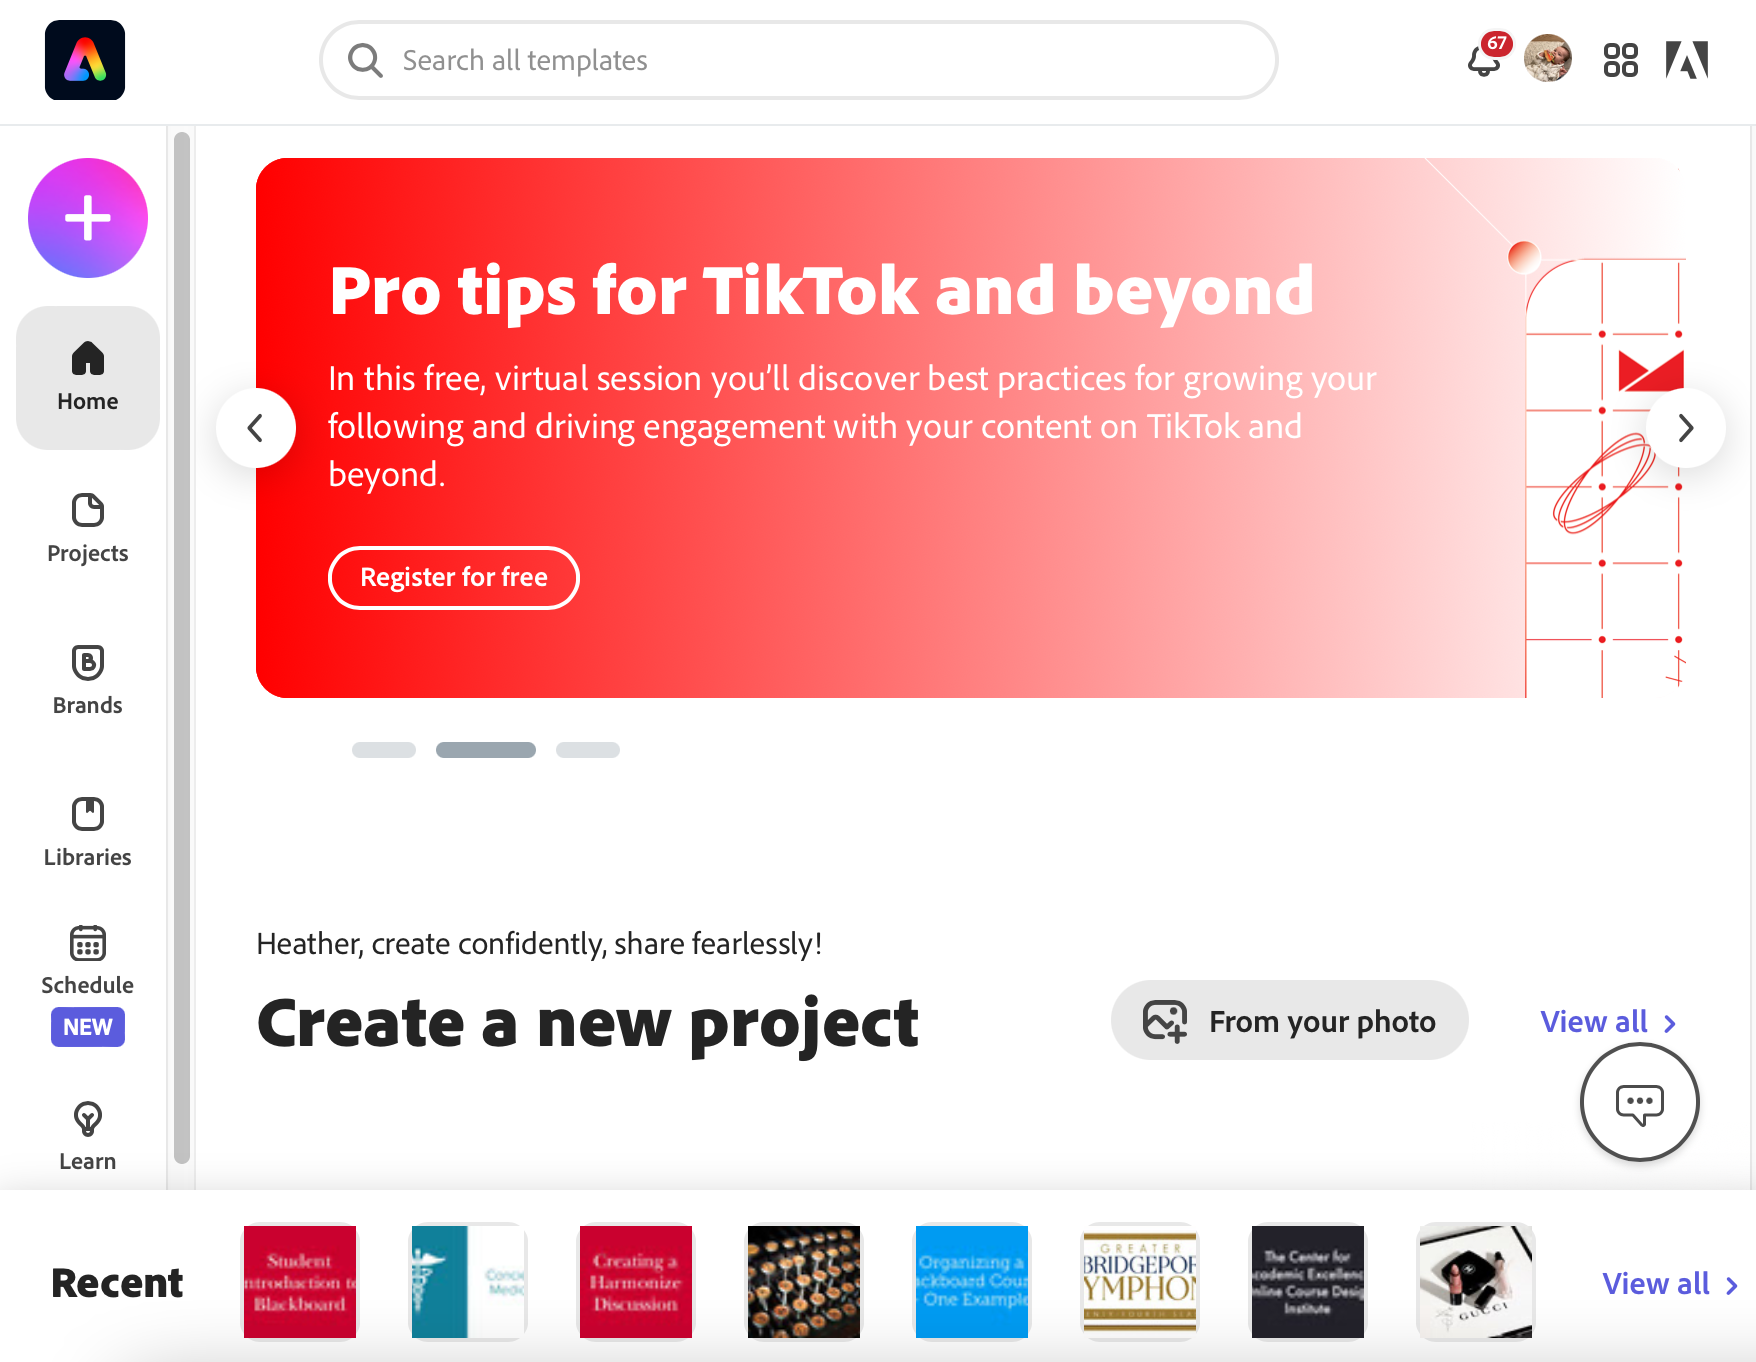
  • Create (plus): Create from a list of templates or create a new project from scratch
  • Home: Be inspired and view your recent projects
  • Projects: View and organize your projects
  • Brands: If you pay for an Adobe Creative Cloud account, you will be able to create and manage brands

Create a Video

Adobe Express Video provides a simple video-story tool for adding voice narrations to a series of images.

  1. Select the Create a Project (plus) button
  2. Choose Video from the list
  3. Enter a Title for your video
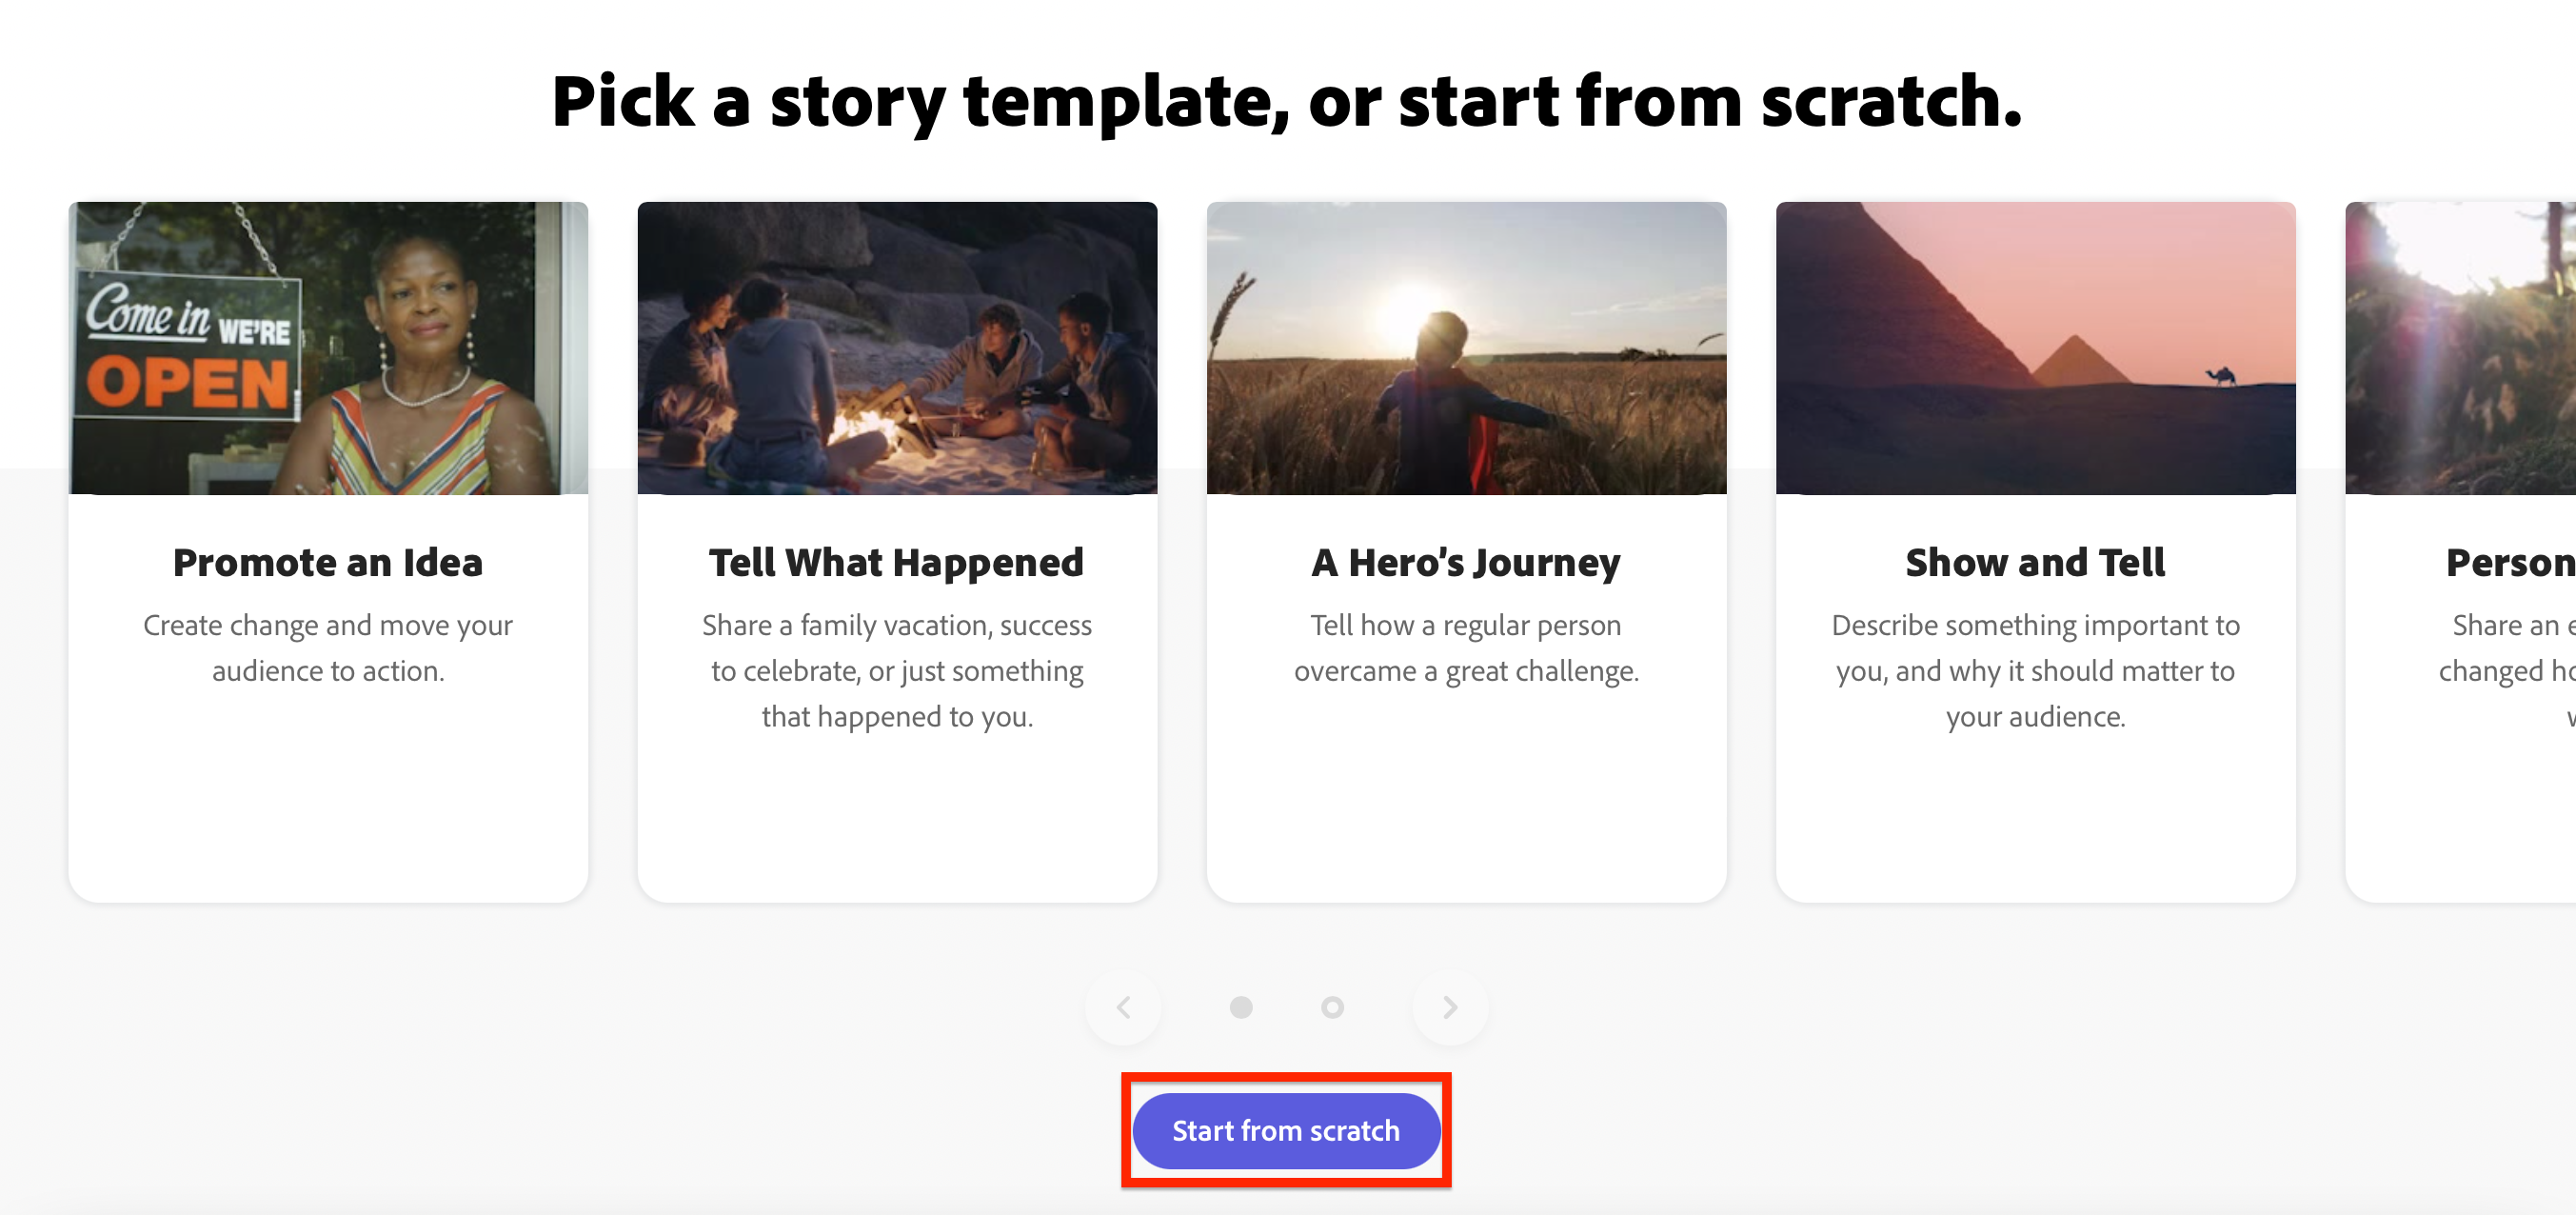
  4. Choose from any of the templates for inspiration or Start from Scratch. Templates provide guidance tips for video components based on what type you choose.

Edit and Publish Videos

 Learn more about editing and publishing videos
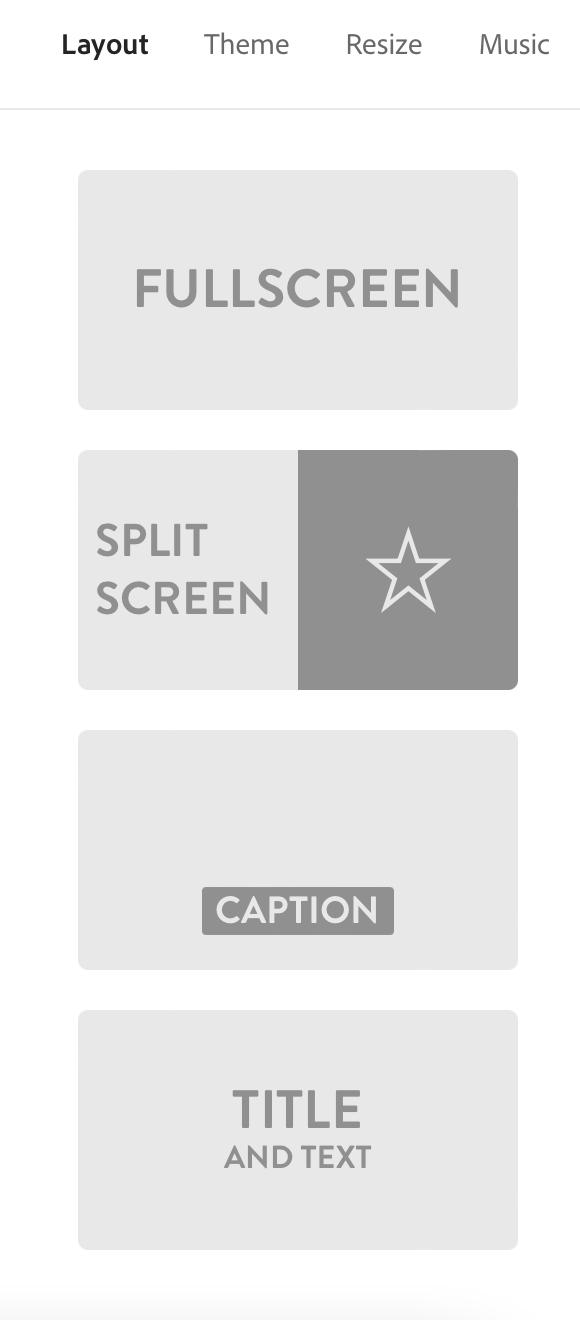
  1. Choose the Layout for your slide
    • Full Screen: Ideal for one line of text
    • Split Screen: Ideal for adding a video, icon, or image to one side and text on the other
    • Caption: Ideal for adding text over a busy image or video
    • Title and Text: Ideal for title slides and outros
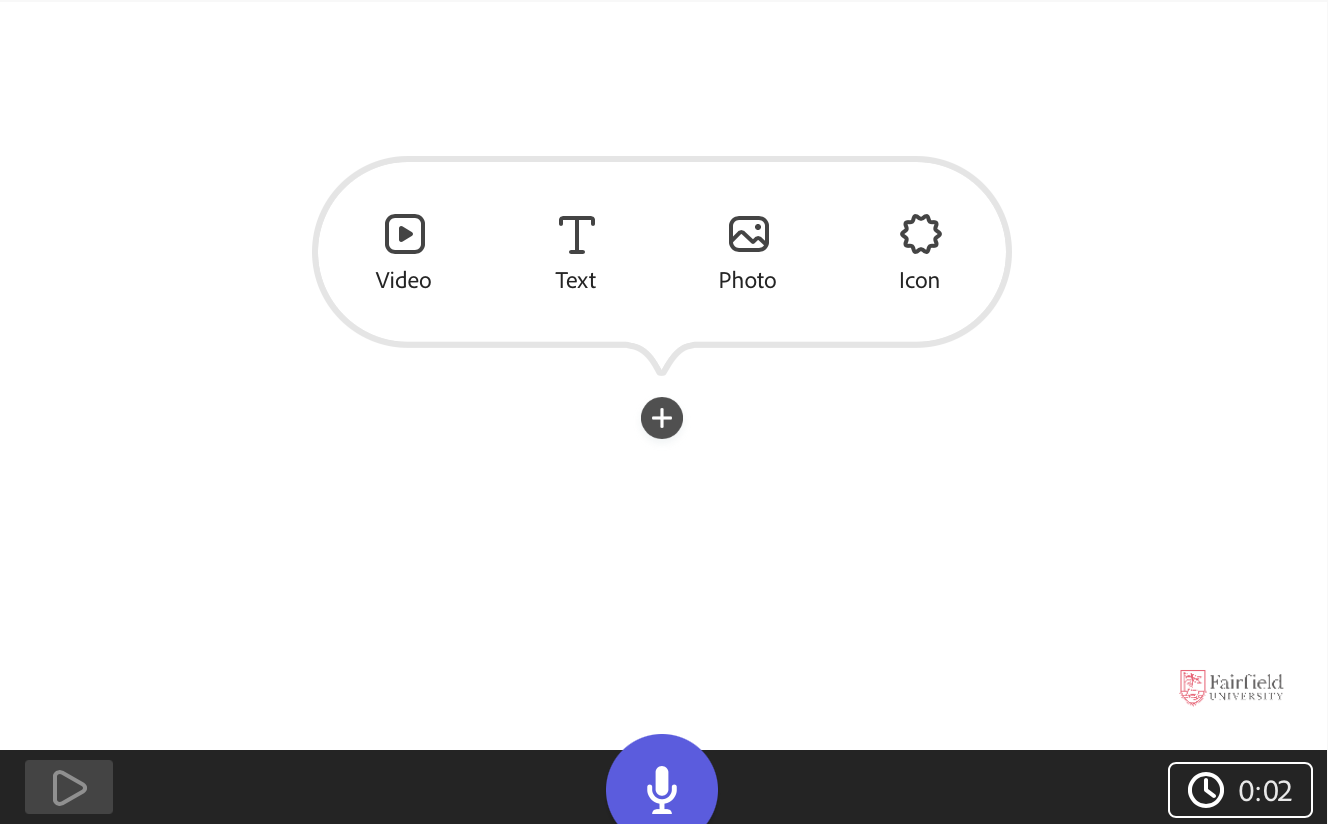
  2. Add elements to your slide
    • Video: Upload a video from your computer.

      If you intend to use audio over the video, be sure to upload a video without sound or it may compete with your audio recording.

    • Text: Enter text to display on the slide.

      By default, text will always display in the middle of the video. If you select caption, it may display at the bottom center. You can drag and drop the text to various other points on the slide.

    • Photo: Select from Adobe's list of Creative Commons images or upload your own. If you use an image from Adobe, the licensing credit will automatically be added to the end of the video.
    • Icon: Select from Adobe's list of Creative Commons icons. The color will update to match your theme. 
  3. Add a secondary element: background and audio
    1. Background: Add an image (from Adobe or your computer) or video (from your computer)
    2. Audio: Press and hold the microphone icon to record audio over the slides

      While there is not a limit to the length of the total video, there is a 30 second limit per slide.

  4. To add and magage your slides, use the slides editor below the video.
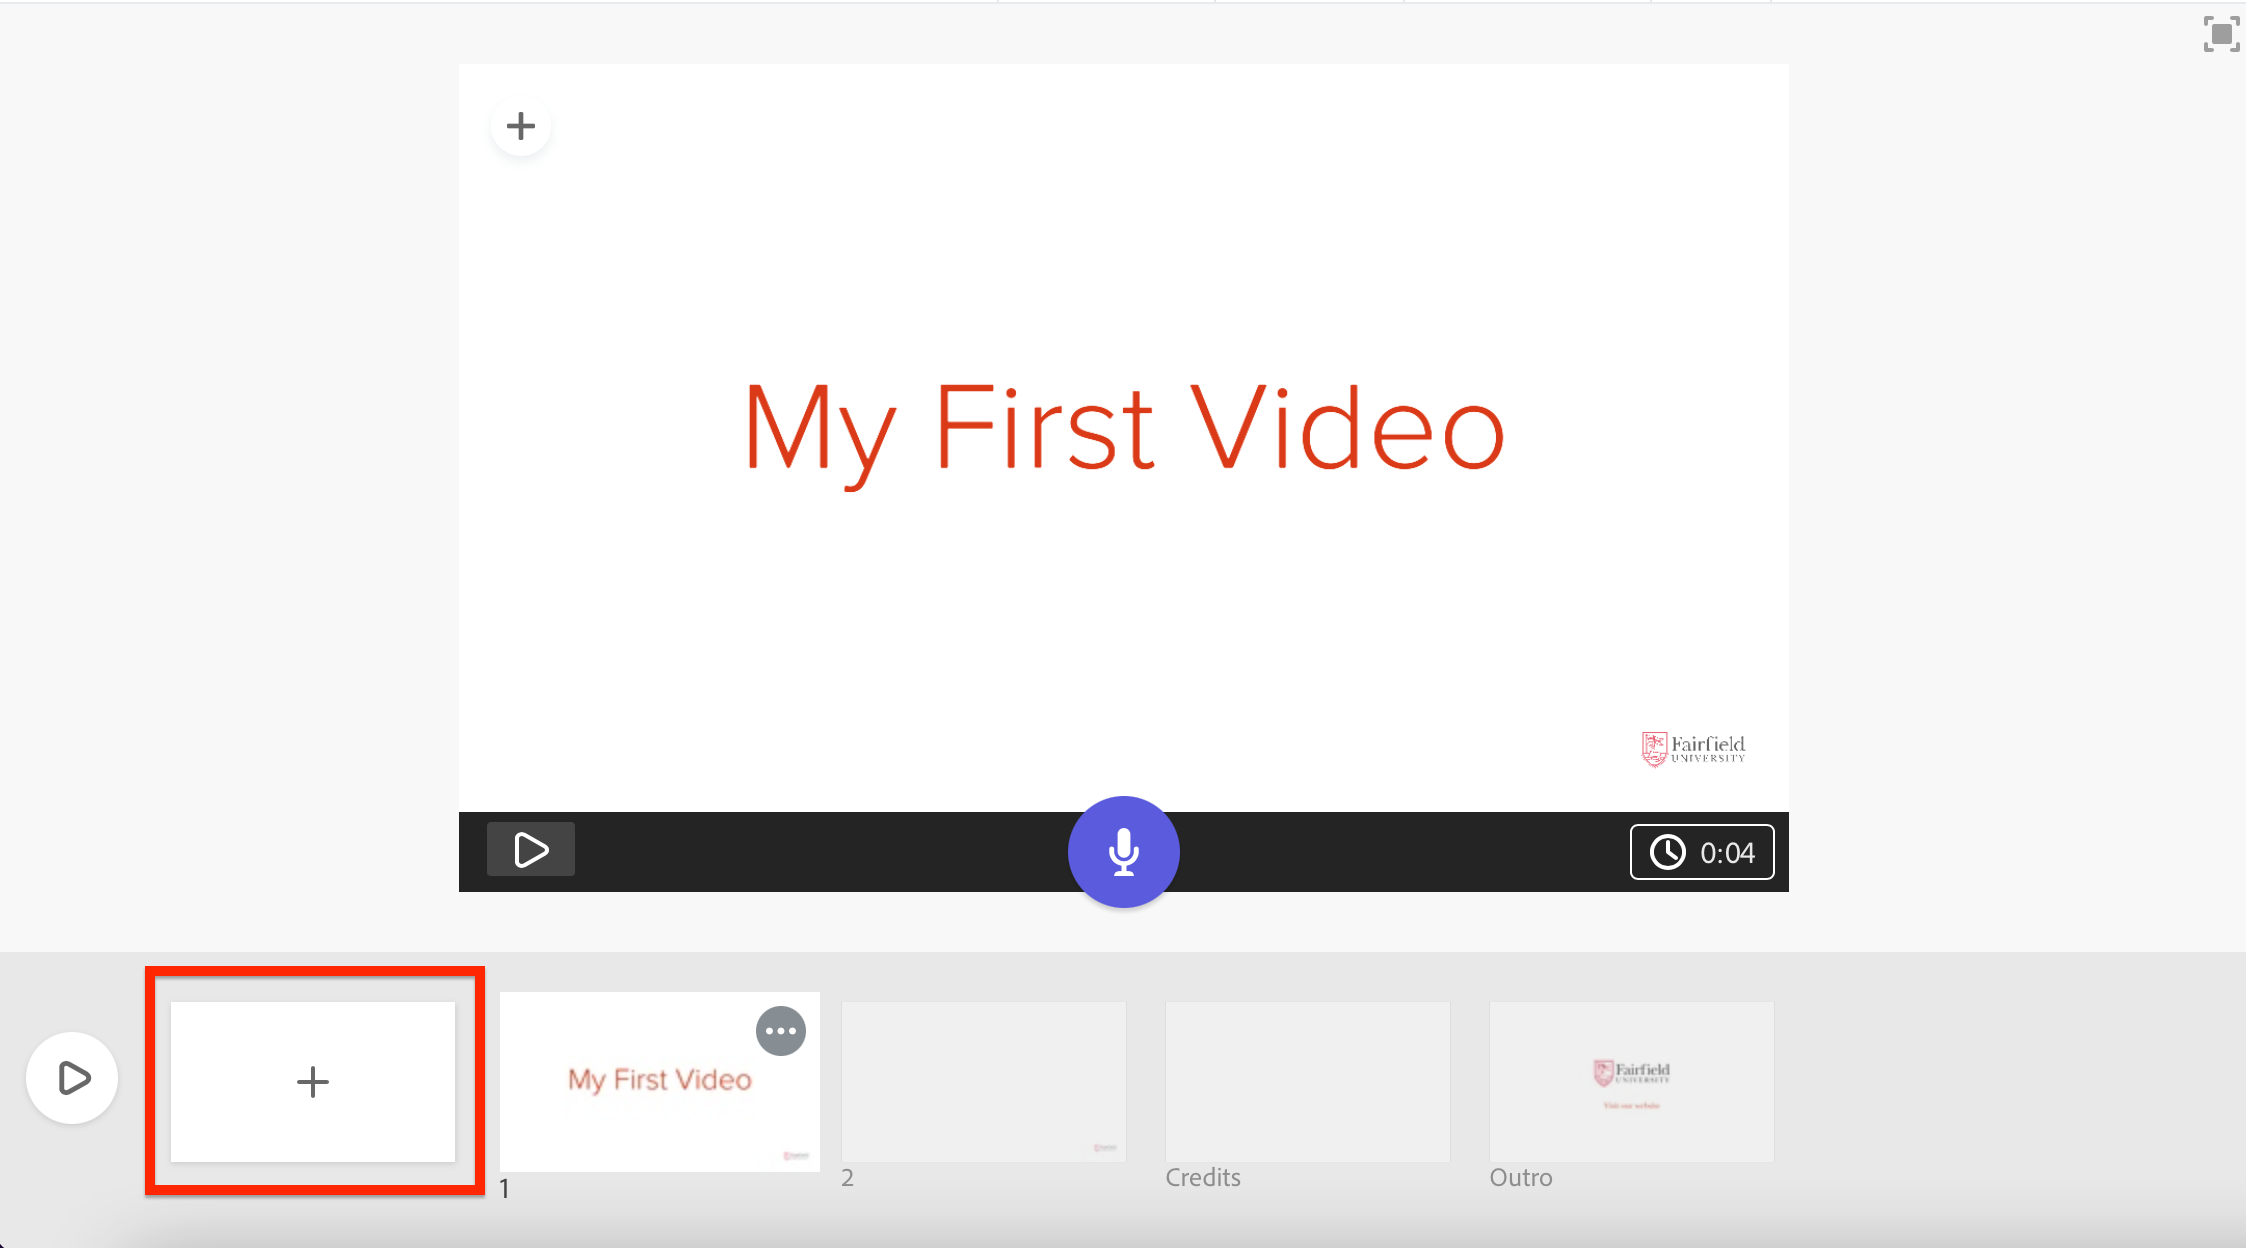
    • Add Additional Slides: add additional slides to your presentation, choose the Add Slide button in your slides manager below the video.
    • Reorder Slides: You can drag and drop the slides in any order.

Adding Final Touches

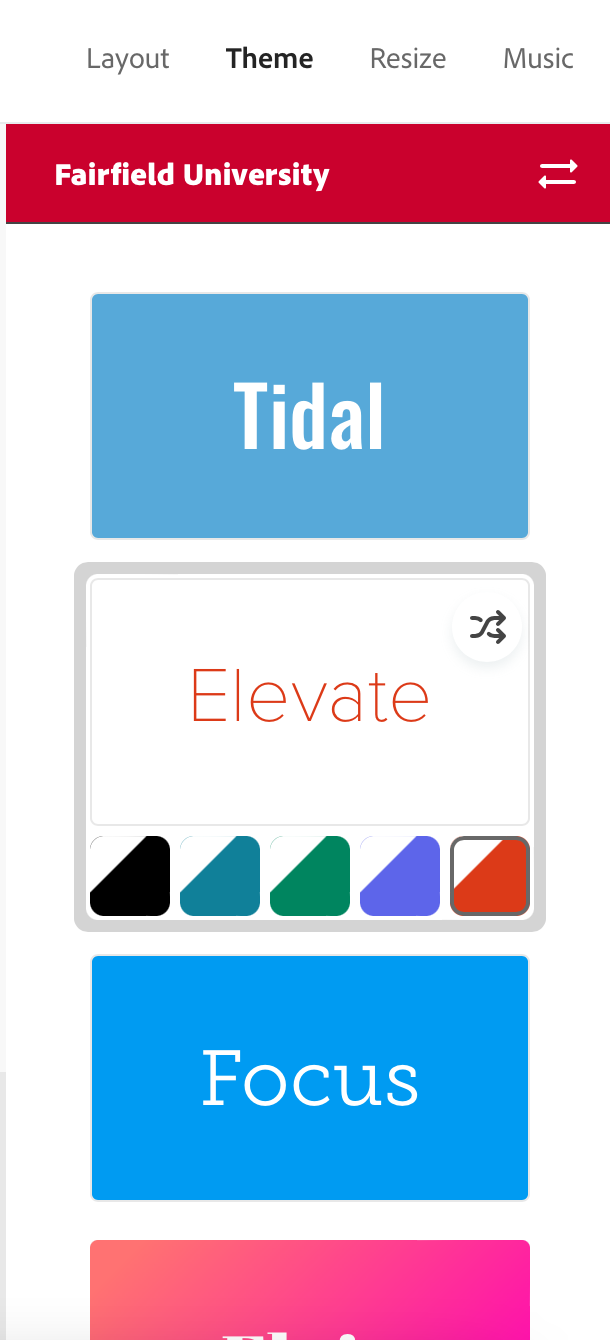
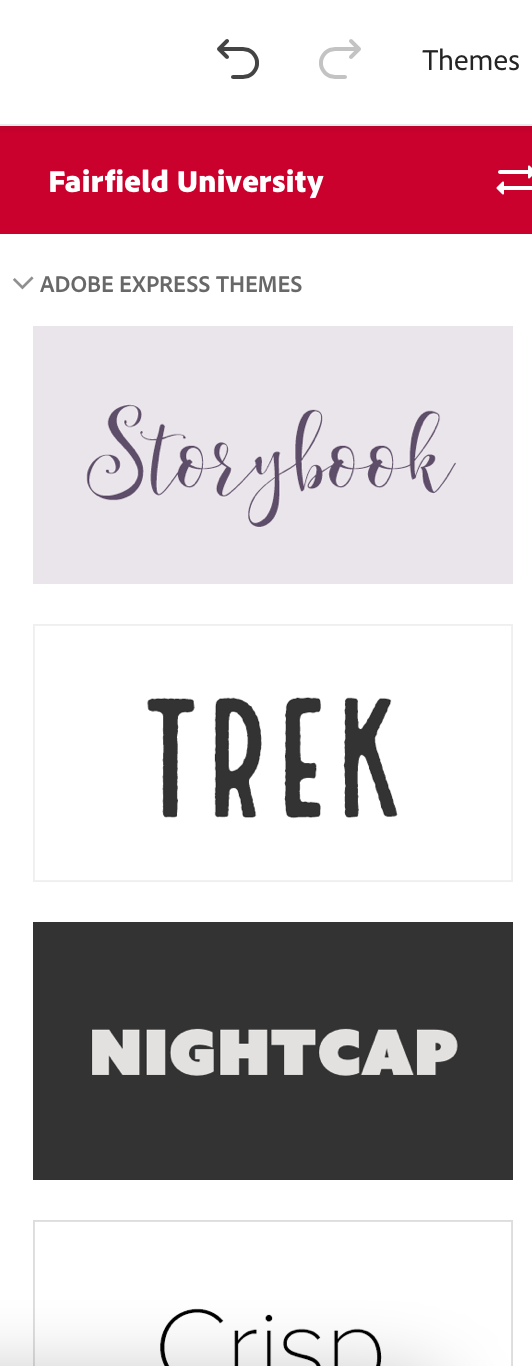
After you complete adding the content to your video, it's time for the final touches. Select a theme and music to set the tone!


If you have recorded audio, set the music to no more than 25% volume or it may be too loud to hear your voice. Always preview your video before publishing!


Sharing Your Video

You can share you video with collaborators or publish it view-only access.

Select Share above the video:

  • Invite: Invite others to collaborate! You'll need to enter the email they use for Adobe Express
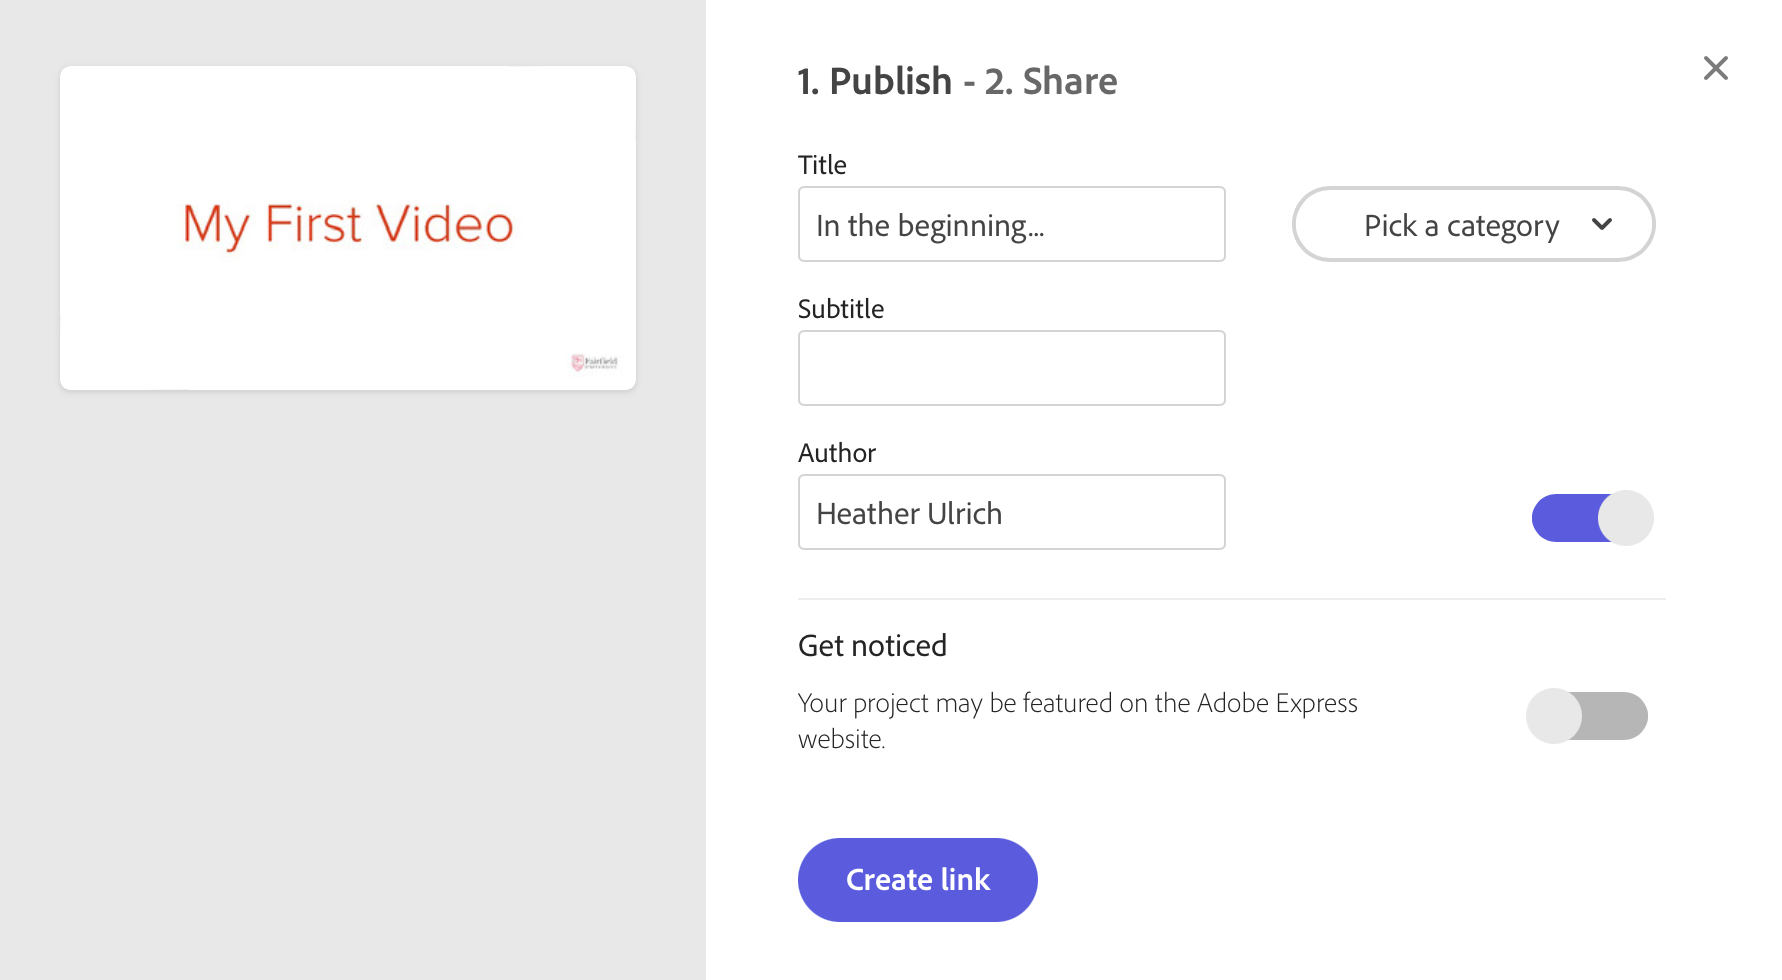
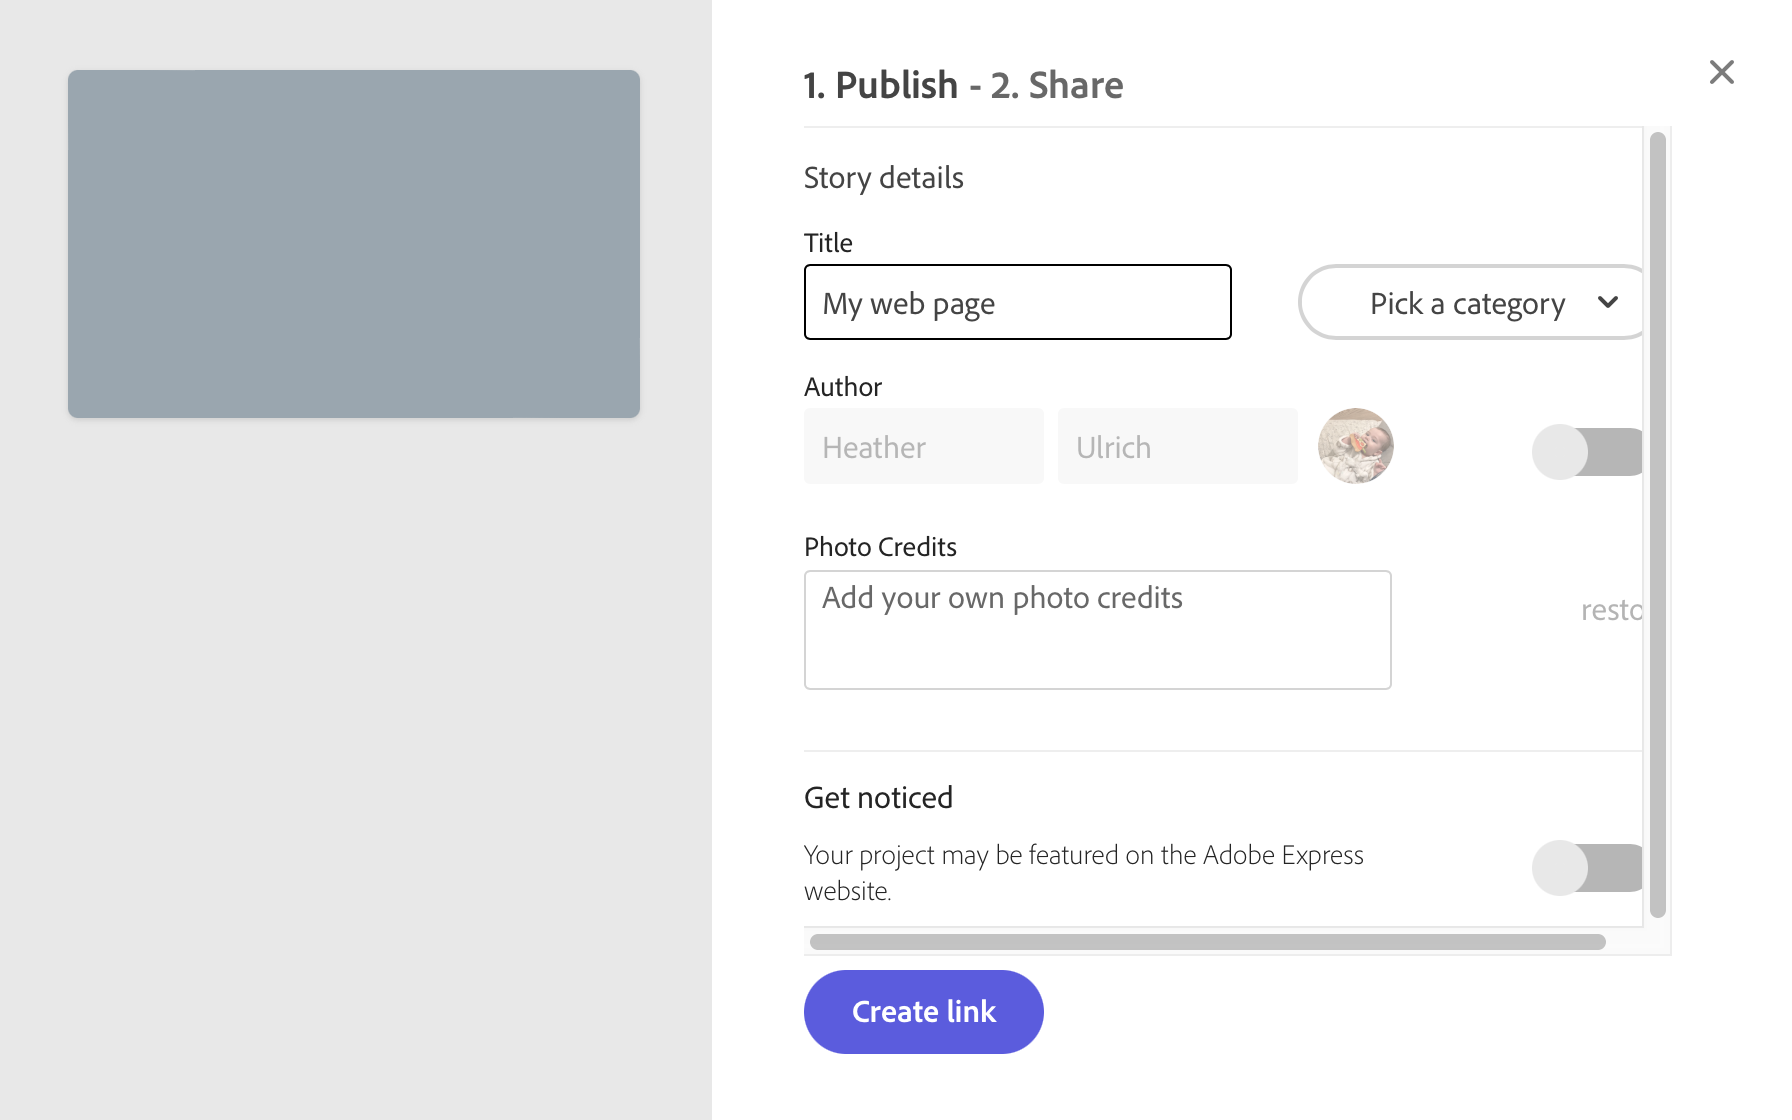
  • Publish: Enter the details of your video before publishing.

    If the URL you share has design in it, such as https://express.adobe.com/sp/design/video/, then viewers won't be able to access the video unless they have been invited as collaborators. Once published, the video URL should be relatively short and simply be express.adobe.com/video/ a string of numbers, such as: https://express.adobe.com/video/bb85DW7de1hCr 


Create a Page

Adobe Express Page is ‘web story’ tool that allows you to create and share projects that combine aspects of traditional slideshow and web presentations.

  1. Select the Create a Project (plus) button
  2. Choose Web Page from the list
  3. Enter a Title and subtitle for your page
  4. Choose the style for your page's title and heading

Edit and Publish Adobe Express Pages

 Learn more about editing and publishing pages

Scroll down to add content.

  1. Choose from the content types:
    • Photo: Select from Adobe's list of Creative Commons images or upload your own. If you use an image from Adobe, the licensing credit will automatically be added to the end of the video.
    • Text: Add a text element. This may include headings, lists, and links to external pages.
    • Button: Add a button linking to another web page
    • Video: Add the link to embed a video from YouTube, Vimeo, or Adobe Express
    • Photo Grid: Creates a grid made of photos up upload or select from the Adobe list.
    • Glideshow: Image behind each text element as the viewer scrolls through your page
    • Split Slide: Image on one side, and text on the other

Adding Final Touches

After you complete adding the content to your page, it's time for the final touches. Select a theme and music to set the tone!

Sharing Your Page

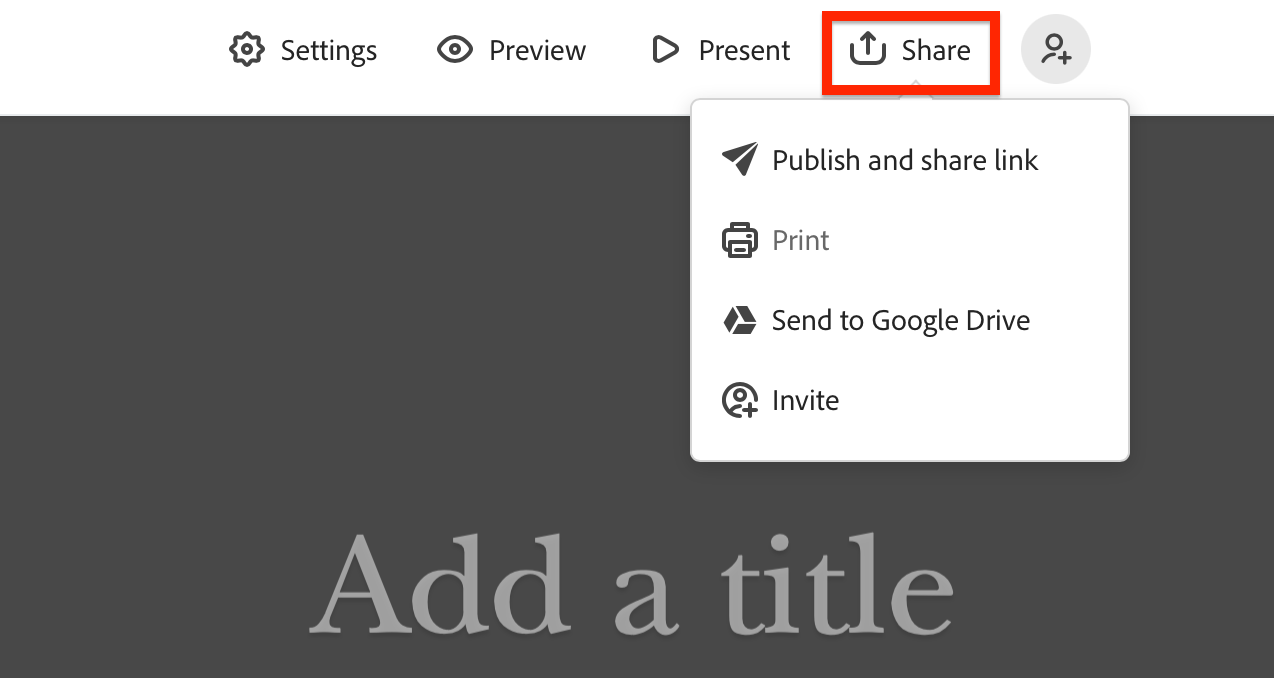
You can share you page with collaborators or publish it view-only access, or print it if there is no multimedia.

Select Share above the video:

  • Invite: Invite others to collaborate! You'll need to enter the email they use for Adobe Express
  • Print: Export your video as PDF or print out a physical copy of it. Please be aware that some features may not transfer well to PDF as Adobe Express page is designed for online viewing.
  • Publish and share link: Enter the details of your page before publishing.

    If the URL you share has design in it, such as https://express.adobe.com/sp/design/page/, then viewers won't be able to access the video unless they have been invited as collaborators. Once published, the video URL should be relatively short and simply be express.adobe.com/page/ a string of numbers, such as: https://express.adobe.com/page/bb85DW7de1hCr


Frequently Asked Questions

Is there a mobile app?

There are mobile apps for each element of the Adobe Express suite, but some are currently only available on iOS.

  • No labels